
|
|
After power-up the status LED blinks and then remains lit. The controller sends a message to the PC showing its revision number that would be displayed in the Incoming Messages pane.

After installation of the software the online help system will be available.
The online
help system may be accessed by;
1)
Click on "?" located on upper right corner of the control panel,
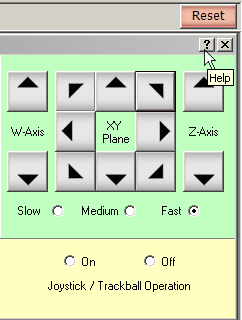
then drag it to any button and click. A message will explain the functionality of that button.
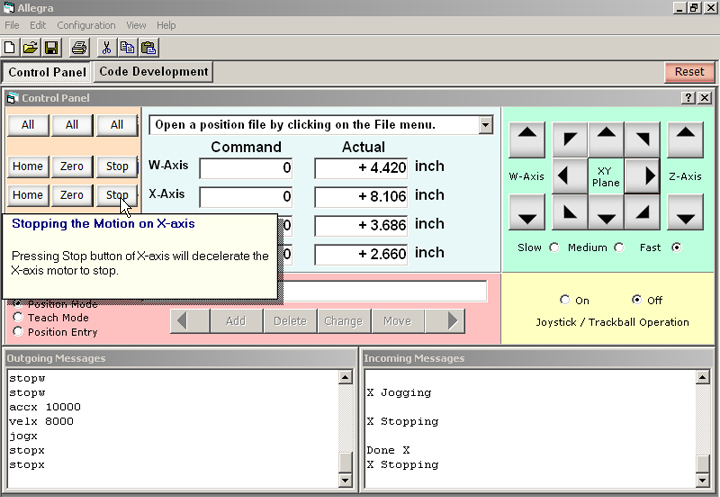
If you click on any button, you would see the outgoing messages to the
controller and the incoming messages from the controller in the corresponding
panes.
The controller may be used to learn and execute a motion profile without any programming.
To use the teach mode capability;
1) Select
‘Teach Mode’ option located on the lower left corner of the pane with the light
red background.

2) Using
the keypad located on the right hand side of the screen, and/or the joystick,
and/or the trackball move the mechanism to different locations.

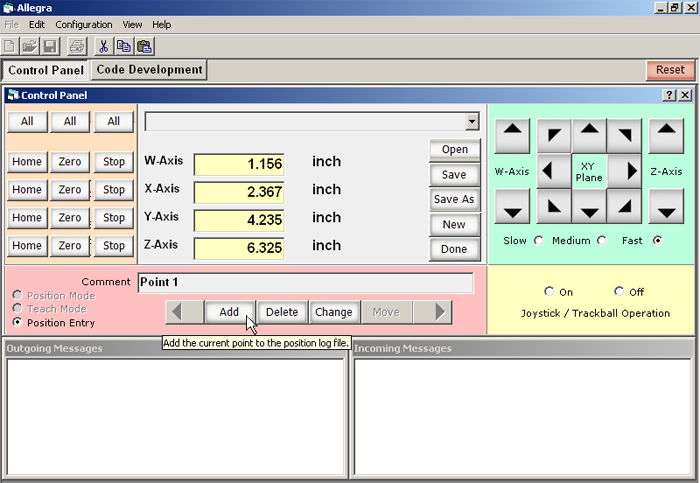
3) Press the ‘Add’ button.
This will include the current point to the Position Log File that can be saved
and retrieved.

4) The above steps may be repeated as many times as necessary.
5) After
completion, save the information in the Position Log File by clicking on ‘File’ then ‘Save as’.
The software allows the user to enter the position of the points to move to.
To use the Position Entry Mode capability;
1) Select ‘Position Entry’ option located on the lower left corner of the pane with the light red background.
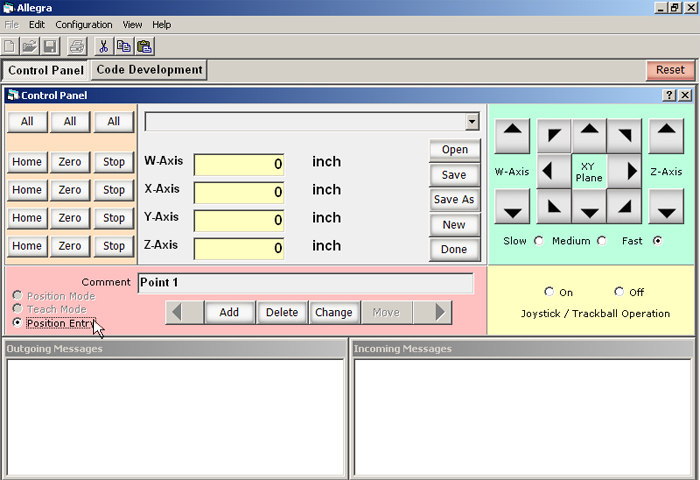
2) Enter the position information in each corresponding field then click on 'Add" button. This will include the current point to the Position Log File that can be saved and retrieved.
Clicking on ![]() button will allow the user to save the information with a
different name to the hard disk.
button will allow the user to save the information with a
different name to the hard disk.
Clicking on ![]() button will end the Position Entry mode and will return to
Position Mode.
button will end the Position Entry mode and will return to
Position Mode.
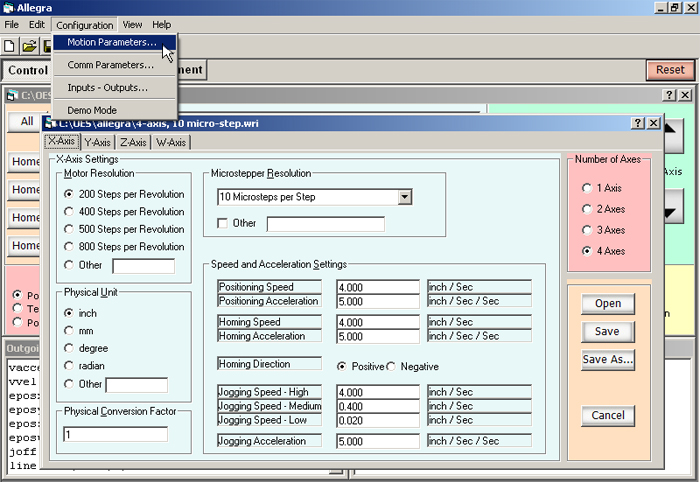
Make sure that motion parameters are properly set. See Setting the Motion Parameter .
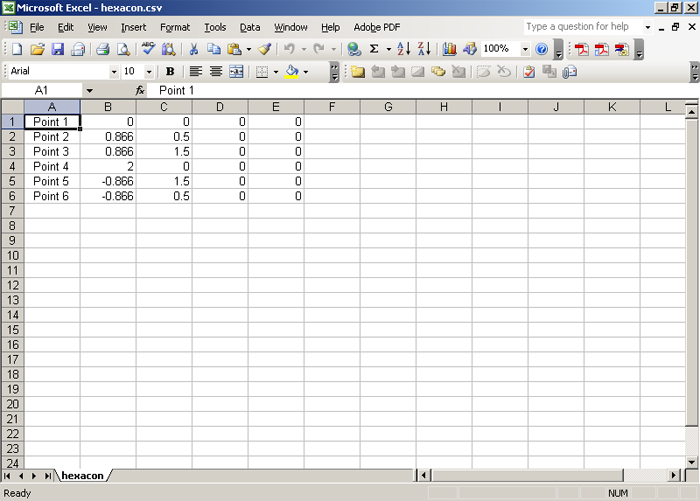
The position information is saved in .csv (Comma Separated Value) format. It is possible to generate and edit a profile using a spread sheet or text editor. However, the file must be saved as .csv file.

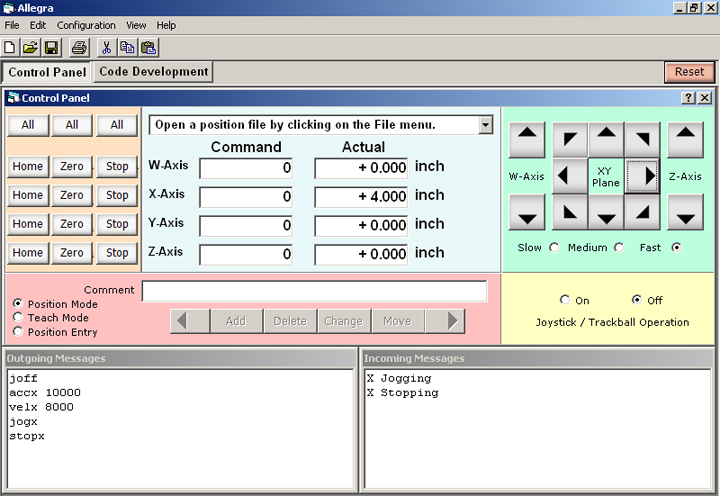
1) Select
‘Position Mode’ option located on the lower left corner of the pane with the
light red background.

2) Using
the drop down menu, located at the top of the pane with blue background, or the
‘East’ and ‘West’ pointing arrows in the pane with light red background, select
a point to move to.

3) Press
‘Move’; the mechanism will go to the selected point.

It is that
simple! You do not have to write a single line of code.
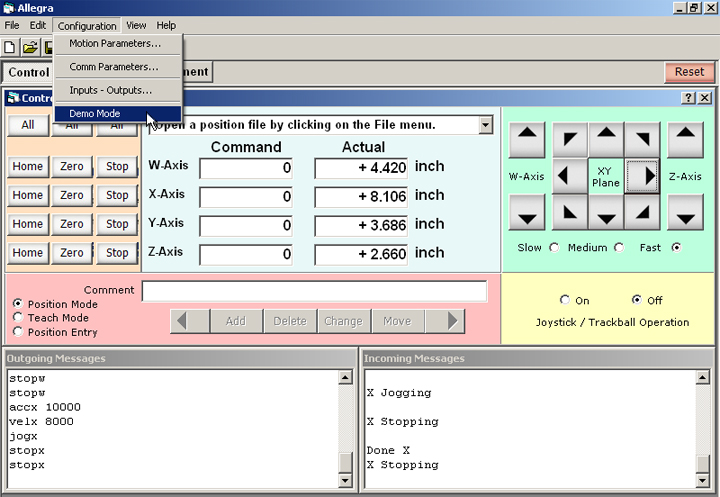
All the motion parameters are set in the 'Configuration Panel' under 'Configuration' ->
‘Motion Parameters’.
Controlling the Outputs and Monitoring the Inputs
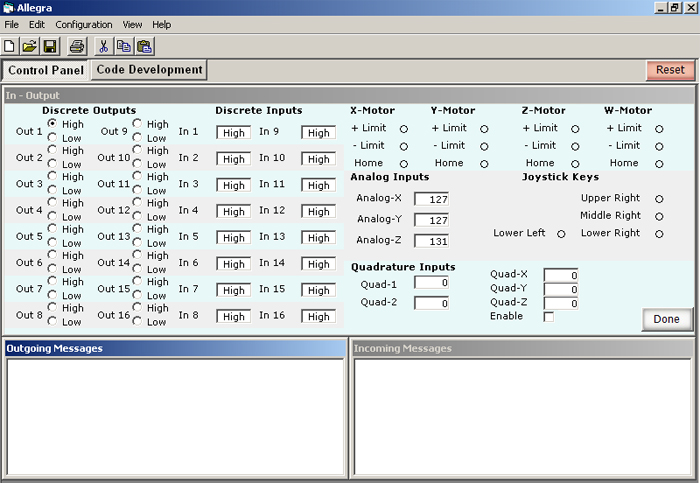
To control the outputs and monitor the inputs, click on 'Configuration' -> ‘Inputs - Outputs’.
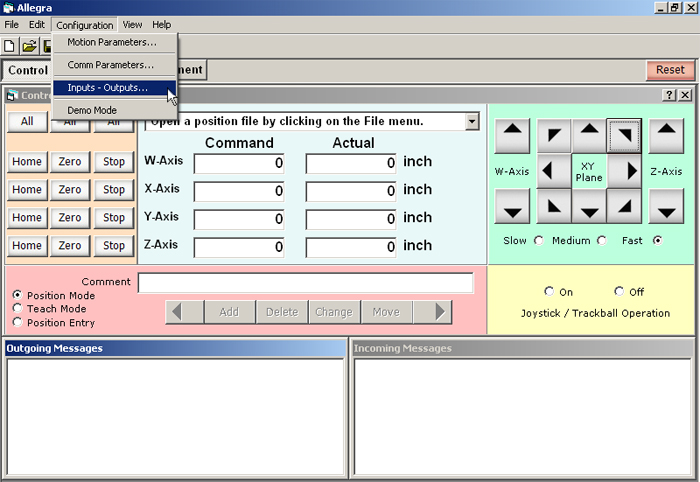
The following display will appear that allows the user to set or reset each output individually and monitor all analog and digital inputs.
Copyright © 2002 - 2014 Optimal Engineering Systems, Inc.